Smooth Skin

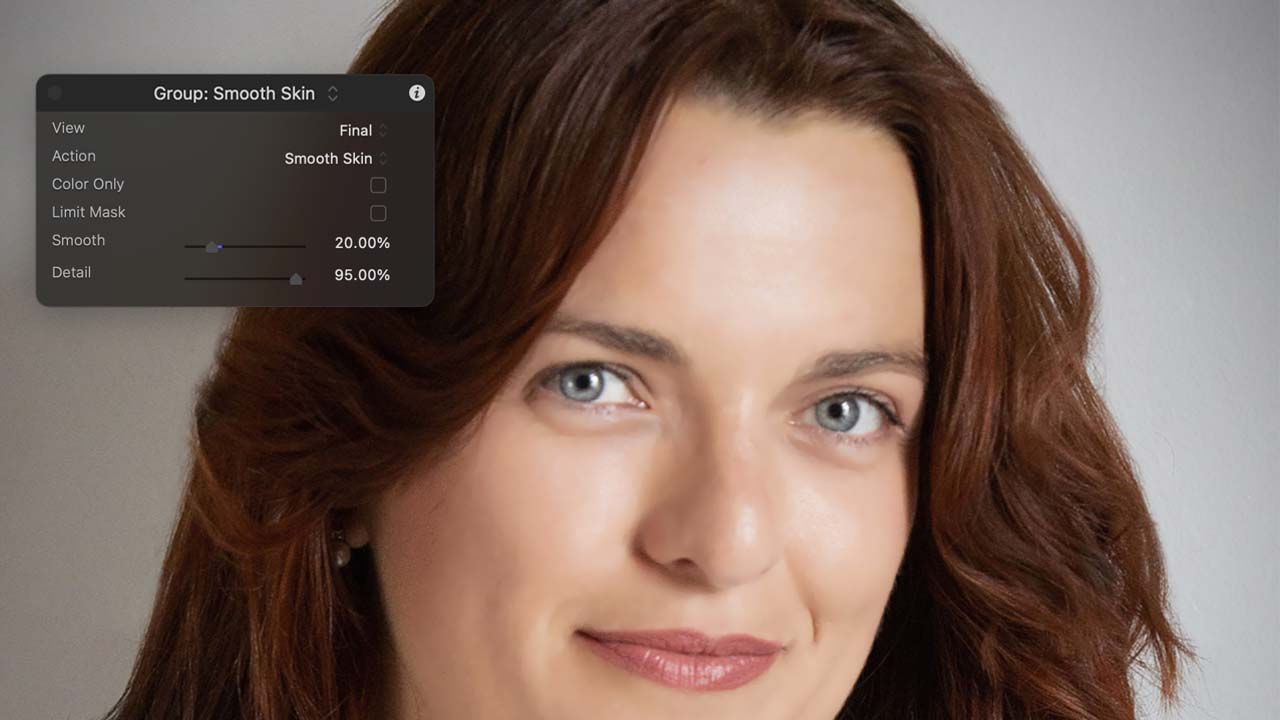
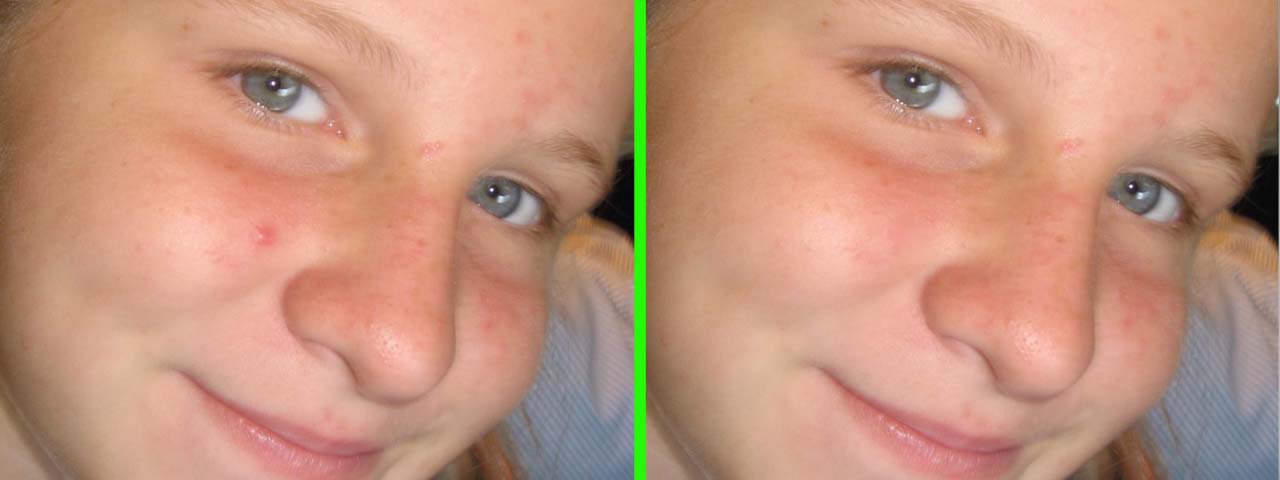
Smooth Skin is a general purpose retouching/beauty plugin that can do skin smoothing or actually remove undesired skin features such as blemishes and replace them with the surrounding area using an adjustable diffusion algorithm.

Before/After

Before/After

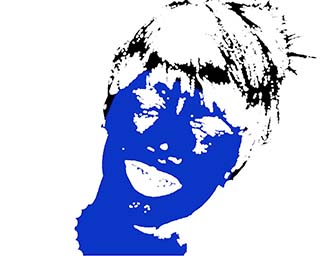
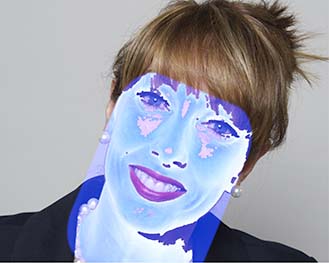
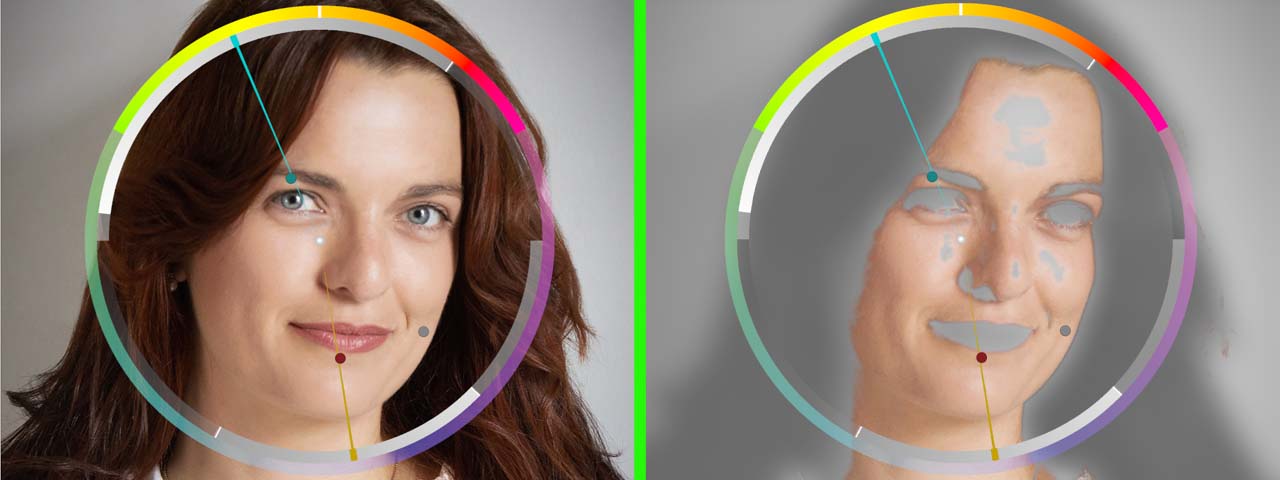
Smooth Skin uses a chroma keying algorithm to limit the processing to selectable skin tones. This can either be sampled with an eye dropper tool, or by using onscreen controls.

Additionally, processing may be restricted to a specific area by use of a limit mask.

See Tips & Tricks for additional hints.

Compatibility

Smooth Skin is compatible with Final Cut Pro, Motion, Premiere Pro and After Effects.

Parameters

Presets

Presets contain a snapshot of your effect configuration. While no built-in presets are available through this parameter, you can still save and load your own preset files.

When you save parameter configuration to a file on disk, this file can later be loaded to recreate the same effect configuration. Presets generated in one video application can be used by the same plug-in running in a different video application.

How do I use the presets popup menu?
Store your commonly used presets here.

View

The following options are available:

Action

Determines what to smooth/remove.

The following options are available:

Skin Selection

Can use sampled color or on screen controls.

Clean Chroma

Set to 0 by default. Only values between 0 and 10 are allowed.

Pre-process the color component before keying. This can help with noisier or compression artifacted material.

Key Control

The following options are available:

Skin

Color set to
by default.
Skin color.

OSD

On by default.

Activates on-screen display.

note: this is automatically disabled when Finalis selected for View

Dim

Off by default.

Increases transparency of the on-screen display.

Hue

A point parameter.

Initial location in the frame
How do I adjust the location on-screen?
Selection point for on-screen control of hue.

Sat

A point parameter centered in the frame by default.

Initial location in the frame
How do I adjust the location on-screen?
Selection point for on-screen control of saturation.

Luma

A point parameter.

Initial location in the frame
How do I adjust the location on-screen?
Selection point for on-screen control of luminance.

Hue

Set to 50% by default.

Controls range of acceptable hues for skin selection.

Sat

Set to 50% by default.

Controls range of acceptable saturation levels for skin selection.

Luma

Set to 50% by default.

Controls range of acceptable luminance levels for skin selection.

Soften

Set to 0% by default.

Controls falloff at edge of skin selection ranges.

Harden

Set to 1 by default. Only values between 1 and 10 are allowed.

Controls falloff curve at edge of skin selection ranges.

Blur

Set to 0 by default. Only values between 0 and 10 are allowed.

Blurs the skin selection mask.

Modify Selection

Allows modification of the either the Selection area for skin smoothing, or the Blemish area for Remove Blemish..

Dilate

Set to 0 by default. Only values between 0 and 30 are allowed.

Enlarges processing area (Blemish or Smoothing).

Erode

Set to 0 by default. Only values between 0 and 30 are allowed.

Shrinks processing area (Blemish or Smoothing).

Blur

Set to 0 by default. Only values between 0 and 30 are allowed.

Spreads reduction area.

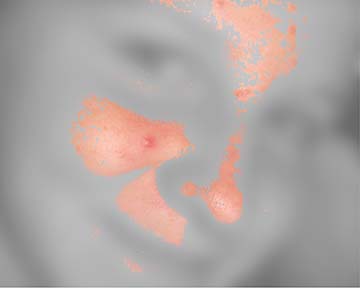
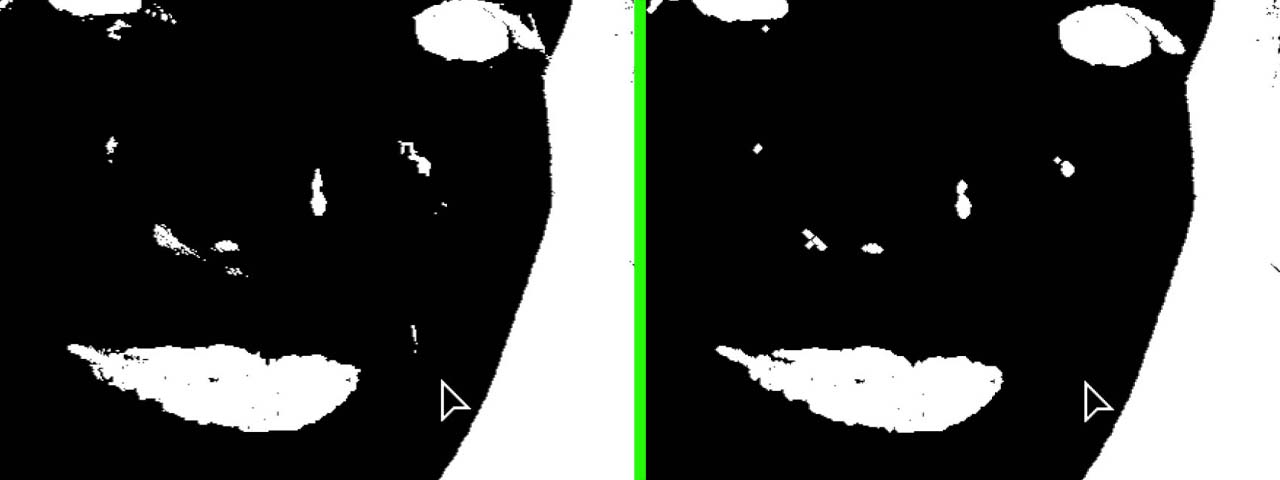
At times the skin or blemish selection can leave small holes in the area to be processed. This can be corrected with a combination of the Dilate/Erode/Spread sliders.

Closing small holes.

Closing small holes.

Limit Mask

Off by default.

Enables an additional mask to manually limit skin selection area.

Note: Limit Mask position may be automatically or manually tracked. When it is automatically tracked, the Limit Offset paramter allows the mask to be offset from the tracking area.

Limit Settings

Control the Limit Mask.

Limit Show

On by default.

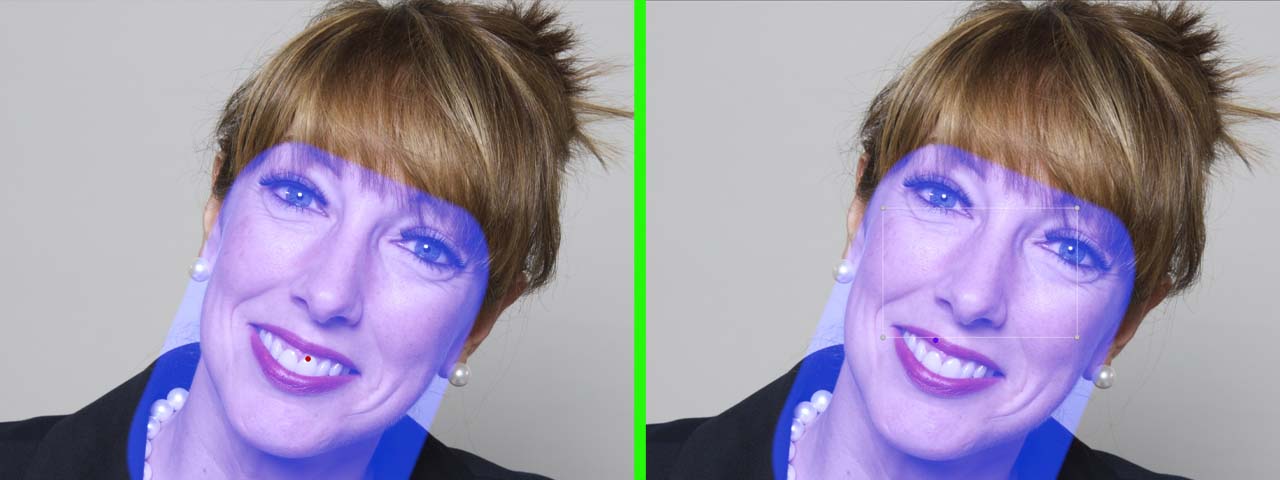
Display’s the Limit Mask as a color overlay.

The limit mask’s Origin control point is displayed as a red dot when the mask is manually positioned. The mask center is offset by the purple Limit Offset control when using tracking.

Manual Tracking / Object Tracking

Manual Tracking / Object Tracking

Track

Off by default.

Enables object tracker controls. note: tracking is for placement only, not angle

Track Limit Mask

Lets you track an object in your video. When object tracking is complete, keyframes that follow the motion of the object over time are automatically created.

The object tracker can be controlled on-screen in Final Cut Pro and Motion:


On-screen controls for the object tracker
Identical controls are also available in the parameter inspector:

Controls available in the parameter inspector

For more information on how to display on-screen controls in the Canvas:

Displaying on-screen controls

Objects can be tracked forward or backward relative to the current playhead location in your timeline. In most cases, you will want to position the playhead at the start of the clip:


Playhead position at the start of the clip

Make sure the Track Limit Mask option is enabled to prepare for tracking:


Enable the object tracker

Position and resize the region around the object to be tracked:


Position and resize the rectangular region around the object you wish to track

Click the Track Forward button to begin analysis:


The Track Forward button

A window reports progress made so far:


Object tracking status

Click the Cancel button if you notice that the analysis seems to be following an object incorrectly. Reposition and resize the region before attempting to track the same object again.

When the analysis is complete, keyframes are created to follow the object along its path.

The analysis proceeds in the background even if you click on a different window. You can check on the progress of your analysis by selecting the Track Limit Mask command under the Window menu. If the command is missing from the menu, analysis is already complete.

How can I make my own adjustments to the results?

When object tracking analysis is complete, the rectangular selection around each tracked object follows the object along its detected path.

Make sure the on-screen controls are currently visible in the Canvas in order to see and manipulate the region around each tracked object. Note that each video application has different rules for when on-screen controls are visible in the Canvas.

As you step forward or backward by a single frame, you may drag the region to the desired location. If the motion path seems to wander off by a significant amount, you can click the Track Forward or Track Backward buttons to restart the analysis after applying the desired corrections.

You may also step through all frames where the analysis did a poor job of tracking the object, and manually reposition the region to match the actual location of the object. This gives you the flexibility to use automatic object tracking to estimate a motion path, while making fine-grained adjustments for the perfect results.

What if my object moves towards or away from the camera?

Under the options menu, enable the tracking of both position and scale:


Tracking position and scale

This option allows the tracked region to expand when the object moves closer to the camera, and shrink when the object moves away. Please note that this functionality works best with objects whose contour is clearly defined relative to the background.

Remember to track the object again after changing this option.

Better tracking of shaky video

Results of the object tracker depend heavily on the video being analyzed. When tracking objects in shaky video, increase the Smoothing level to prevent the resulting motion path from shaking along with the object. The current smoothing level is set through the options menu:


Increase Smoothing with shaky video

Remember to track the object again after changing the Smoothing level.

Better performance in Final Cut Pro

To speed up object tracking analysis in Final Cut Pro, transcode all clips to create Optimized Media.

How do I create optimized media in Final Cut Pro?
Use this tracker to control the placement of the Limit Mask

Limit Offset

A point parameter centered in the frame by default.

Initial location in the frame
How do I adjust the location on-screen?
This allows the user to displace the tracking area from the mask placement.

Origin

A point parameter centered in the frame by default.

Initial location in the frame
How do I adjust the location on-screen?
Center of manual Limit Mask.

Radius

Set to 75% by default.

Controls the roundness of the Limit Mask.

Softness

Set to 20% by default.

Softens the edge of the Limit Mask.

Size

Set to 0.9 by default. Only values between 0.1 and 2 are allowed.

Controls the size of the Limit Mask.

Aspect

Set to 1.25 by default. Only values between 0.1 and 3 are allowed.

Controls the height to width ratio of the Limit Mask.

Angle

Set to by default.

Value must be between -180° and 180°.

Controls rotation of the Limit Mask.

Smoothing

Controls skin smoothing.

Smooth

Set to 30% by default.

Controls the amount of softening. This control attempts to apply a correction factor to maintain consistent behavior across differing resolutions.

Detail

Set to 92% by default.

Controls the amount of detail retained.

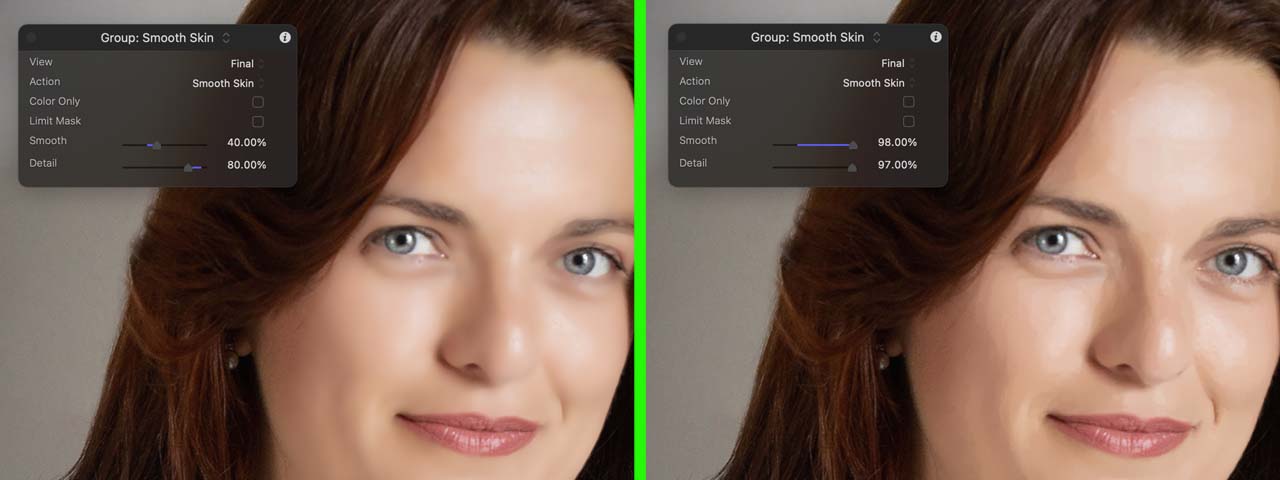
Texture reduction or skin smoothing is controlled with a balance between the Smooth and the Detail sliders.

Properly adjusted smoothing.

Properly adjusted smoothing.
Too much Smooth, too little detail / Too much Smooth, too much detail.

Too much Smooth, too little detail / Too much Smooth, too much detail.
If too much detail is removed, the skin can take on an unnatural plastic look. High detail with high smoothing can cause blocky “posterized” artifacts.

Lines

Set to 0 by default. Only values between 0 and 10 are allowed.

Width of line reduction.

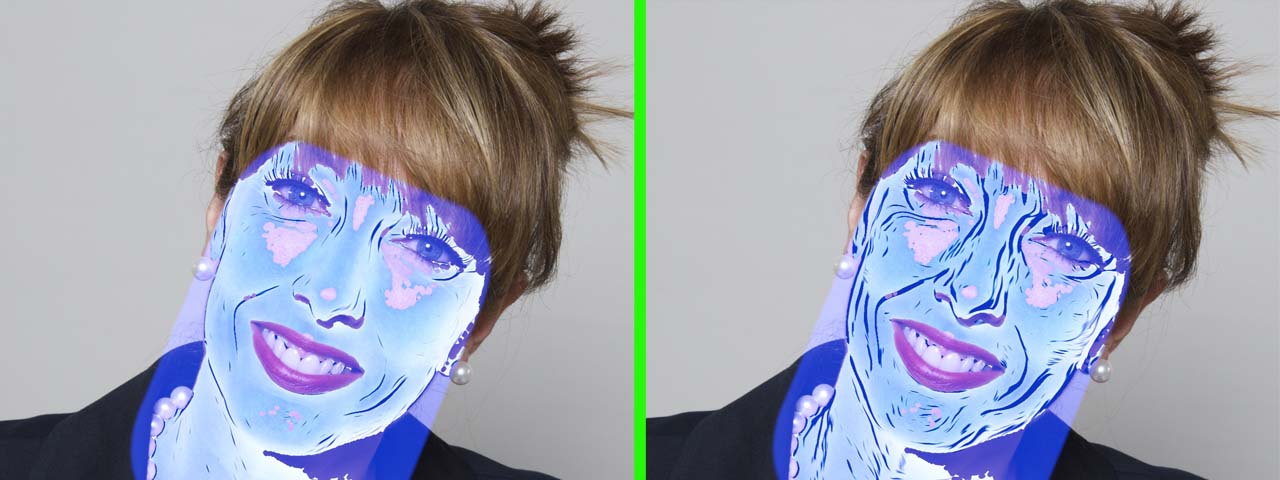
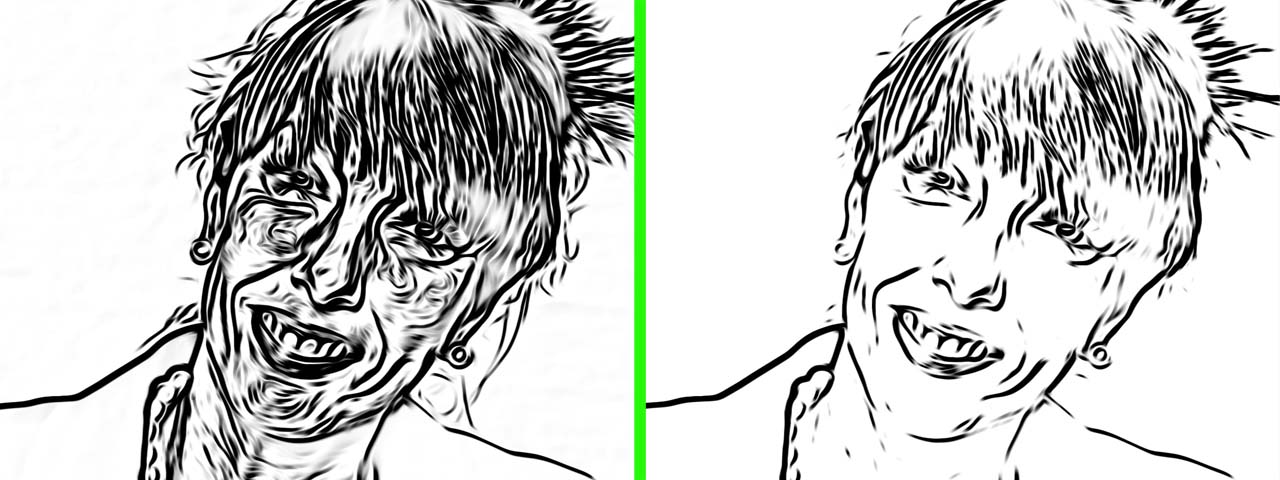
Width low. / Width high.

Width low. / Width high.

Lines provides additional smoothing on detected lines / wrinkles.

Blemish

Control Blemish Selection.

Blemish Type

The following options are available:

Color

Set to
74% red, 32% green, 24% blue, 100% alpha in the SRGB color space by default.
Color of blemish. May be sampled with eyedropper.

H Range

Set to 2% by default.

Controls range of acceptable hues for blemish selection.

S Range

Set to 30% by default.

Controls range of acceptable saturation levels for blemish selection.

L Range

Set to 13% by default.

Controls range of acceptable luminance levels for blemish selection.

All

Set to 50% by default.

Soften

Set to 0% by default.

Controls falloff at edge of blemish selection ranges.

Harden

Set to 1 by default. Only values between 1 and 10 are allowed.

Controls falloff curve at edge of blemish selection ranges.

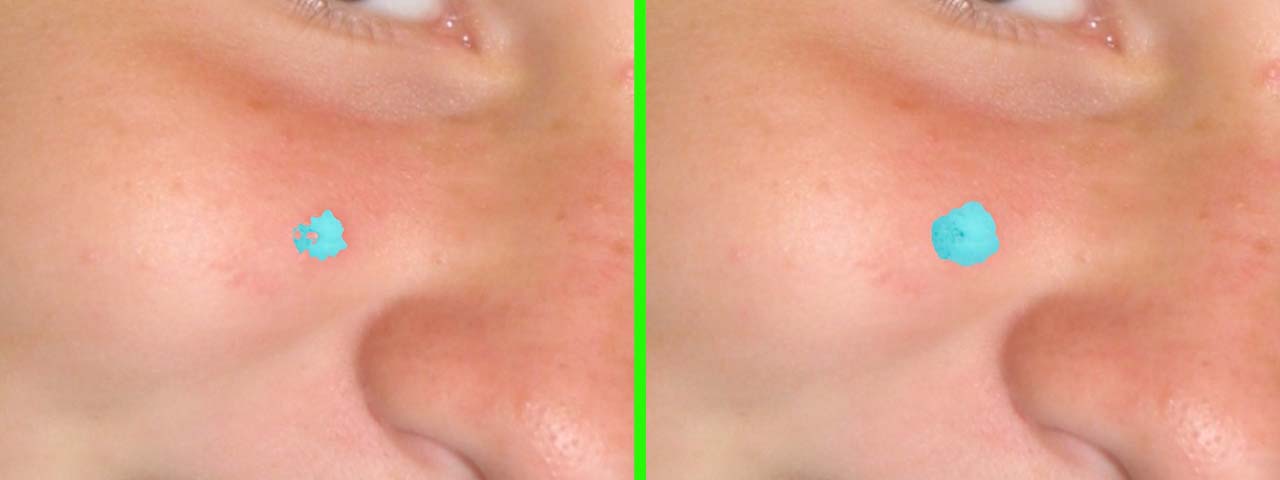
After refining the blemish selection using the color controls, use Soften, Harden, and the Dilate/Erode controls in the Modify section to ensure a solid selection.

Before refining / After refining

Before refining / After refining

Auto Spot

Off by default.

Enables object tracker controls for Spot.

Track Spot

Lets you track an object in your video. When object tracking is complete, keyframes that follow the motion of the object over time are automatically created.

The object tracker can be controlled on-screen in Final Cut Pro and Motion:


On-screen controls for the object tracker
Identical controls are also available in the parameter inspector:

Controls available in the parameter inspector

For more information on how to display on-screen controls in the Canvas:

Displaying on-screen controls

Objects can be tracked forward or backward relative to the current playhead location in your timeline. In most cases, you will want to position the playhead at the start of the clip:


Playhead position at the start of the clip

Make sure the Track Spot option is enabled to prepare for tracking:


Enable the object tracker

Position and resize the region around the object to be tracked:


Position and resize the rectangular region around the object you wish to track

Click the Track Forward button to begin analysis:


The Track Forward button

A window reports progress made so far:


Object tracking status

Click the Cancel button if you notice that the analysis seems to be following an object incorrectly. Reposition and resize the region before attempting to track the same object again.

When the analysis is complete, keyframes are created to follow the object along its path.

The analysis proceeds in the background even if you click on a different window. You can check on the progress of your analysis by selecting the Track Spot command under the Window menu. If the command is missing from the menu, analysis is already complete.

How can I make my own adjustments to the results?

When object tracking analysis is complete, the rectangular selection around each tracked object follows the object along its detected path.

Make sure the on-screen controls are currently visible in the Canvas in order to see and manipulate the region around each tracked object. Note that each video application has different rules for when on-screen controls are visible in the Canvas.

As you step forward or backward by a single frame, you may drag the region to the desired location. If the motion path seems to wander off by a significant amount, you can click the Track Forward or Track Backward buttons to restart the analysis after applying the desired corrections.

You may also step through all frames where the analysis did a poor job of tracking the object, and manually reposition the region to match the actual location of the object. This gives you the flexibility to use automatic object tracking to estimate a motion path, while making fine-grained adjustments for the perfect results.

What if my object moves towards or away from the camera?

Under the options menu, enable the tracking of both position and scale:


Tracking position and scale

This option allows the tracked region to expand when the object moves closer to the camera, and shrink when the object moves away. Please note that this functionality works best with objects whose contour is clearly defined relative to the background.

Remember to track the object again after changing this option.

Better tracking of shaky video

Results of the object tracker depend heavily on the video being analyzed. When tracking objects in shaky video, increase the Smoothing level to prevent the resulting motion path from shaking along with the object. The current smoothing level is set through the options menu:


Increase Smoothing with shaky video

Remember to track the object again after changing the Smoothing level.

Better performance in Final Cut Pro

To speed up object tracking analysis in Final Cut Pro, transcode all clips to create Optimized Media.

How do I create optimized media in Final Cut Pro?

Use this tracker to control the placement of the Spot

Spot Offset

A point parameter centered in the frame by default.

Initial location in the frame
How do I adjust the location on-screen?
Allows offset of Spot from tracked region.

Spot

A point parameter centered in the frame by default.

Initial location in the frame
How do I adjust the location on-screen?
Center of manually placed Spot.

Size

Set to 80% by default.

Spot Size. Note: it is possible to make the size too large for the diffusion algorithm to fill in.

Aspect

Set to 1 by default. Only values between 0.1 and 1.5 are allowed.

Spot Aspect Ratio

Angle

Set to by default.

Value must be between -180° and 180°.

Spot Angle

Deckle

Set to 9.52% by default.

Adds organic edge to Spot to disguise edges.

Diffusion

Method

Controls the type of diffusion used to replace removed features or spots. There’s no hard and fast rule as to which to use. The best thing to do is try each and determine which looks best.

The following options are available:

Passes

Set to 16 by default. Only values between 0 and 32 are allowed.

Controls the number of passes used to fill in the removed areas. More passes are required for larger areas but increase render times. Ideally, drag the slider up from 0 until the areas are completely filled, then add 1 or 2 more in case the area to fill varies across frames.

Color Amount

Set to 100% by default.

Color Amount determines the percentage of the smoothed Color is in the Final image. Typically, this would remain at 100%.

At lower percentages, combined with Luma Amount, this can produce subtle effects like smoothing the color more than the luminance and vice versa.

Luma Amount

Set to 100% by default.

Luma Amount determines the percentage of the smoothed Luminance is in the Final image. Typically, this would remain at 100%.

At lower percentages, combined with Color Amount, this can produce subtle effects like smoothing the luminance more than the color and vice versa.

Reverse

Off by default.

Helpful in detecting light features against a dark background.

Emphasize

Set to 0 by default. Only values between -1 and 1 are allowed.

Fine control of feeature detection.

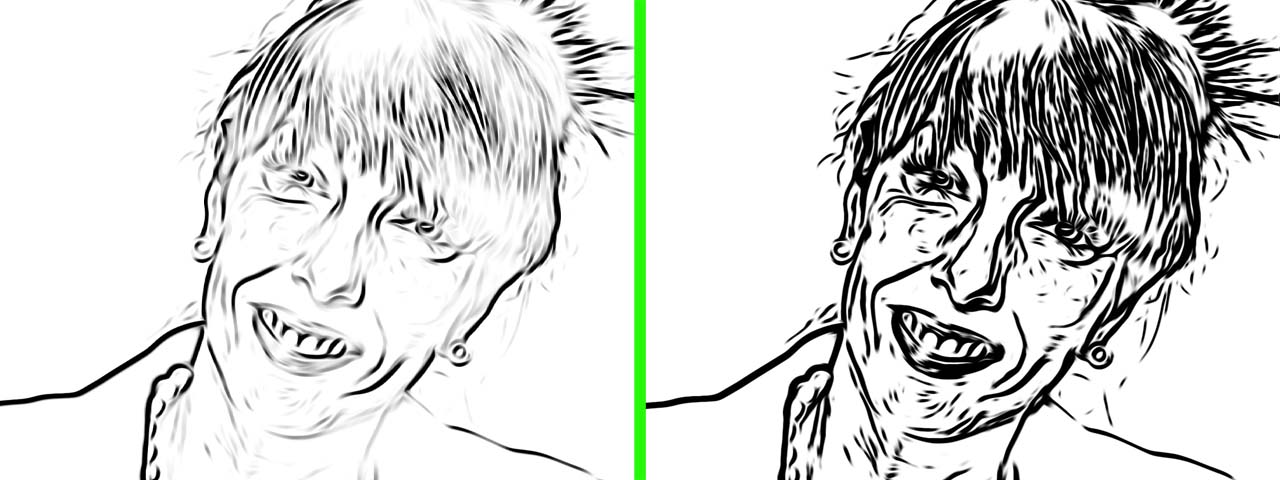
Emphasize low. / Emphasize high.

Emphasize low. / Emphasize high.

Clip

Set to 10% by default.

Uses image luminance to reduce the features detected.

Clip low. / Clip high.

Clip low. / Clip high.

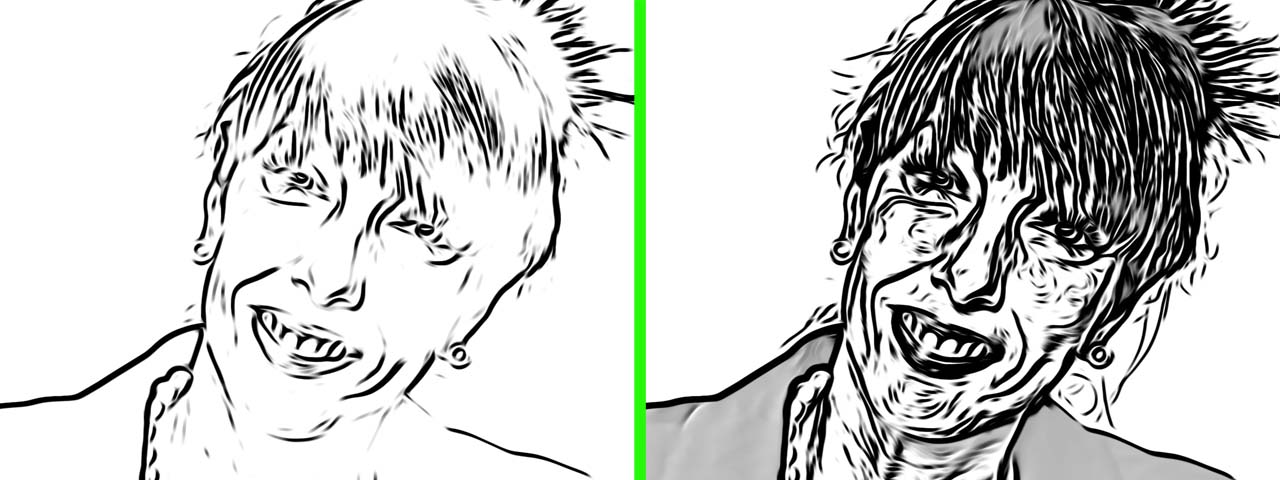
Density

Set to 3 by default. Only values between 0 and 10 are allowed.

Controls the density of features detected. Increasing the Density is helpful in detecting smaller, thinner features. Reducing the Density can produce more subtle effects.

Density low. / Density high.

Density low. / Density high.

Color Only

Off by default.

Performs the entire process on only the color component of the image. This provides a more subtle effect and can be useful in reducing skin splotchiness.