Cover Up

Cover Up is a general purpose retouching/beauty plugin that applies a virtual coverup or foundation.

Cover Up may be used multiple times to reduce shine, alter eye color or lip color, and reduce shadows or redness.

Before/After

Before/After

Cover Up uses a chroma keying algorithm to limit the processing to selectable skin tones. This can either be sampled with an eye dropper tool, or by using onscreen controls.

Additionally, processing may be restricted to a specific area by use of a limit mask.

As well as processing skintones, Cover Up may be used to alter eye or lip (or clothing) color.

Compatibility

Cover Up is compatible with Final Cut Pro, Motion, Premiere Pro and After Effects.

Parameters

Presets

Presets contain a snapshot of your effect configuration. While no built-in presets are available through this parameter, you can still save and load your own preset files.

When you save parameter configuration to a file on disk, this file can later be loaded to recreate the same effect configuration. Presets generated in one video application can be used by the same plug-in running in a different video application.

How do I use the presets popup menu?
Store your commonly used presets here.

View

The following options are available:

Skin Selection

Can use sampled color or on screen controls. Although the user interface for Cover Up is almost identical to that for Smooth Skin, it uses a slightly different keying algorithym that generally produces “softer” results.

Clean Chroma

Set to 0 by default. Only values between 0 and 10 are allowed.

Pre-process the color component before keying. This can help with noisier or compression artifacted material.

Key Control

The following options are available:

Skin

Color set to
by default.
Skin color.

OSD

On by default.

Activates on-screen display.

note: this is automatically disabled when Finalis selected for View

Dim

Off by default.

Increases transparency of the on-screen display.

Hue

A point parameter.

Initial location in the frame
How do I adjust the location on-screen?
Selection point for on-screen control of hue.

Sat

A point parameter.

Initial location in the frame
How do I adjust the location on-screen?
Selection point for on-screen control of saturation.

Luma

A point parameter.

Initial location in the frame
How do I adjust the location on-screen?
Selection point for on-screen control of luminance.

Hue

Set to 10% by default.

Controls range of acceptable hues for skin selection.

Sat

Set to 10% by default.

Controls range of acceptable saturation levels for skin selection.

Luma

Set to 10% by default.

Controls range of acceptable luminance levels for skin selection.

Sensitivity

Set to 30% by default.

Controls falloff at edge of skin selection ranges and overall density.

Thicken

Set to 1 by default. Only values between 1 and 10 are allowed.

Controls falloff curve at edge of skin selection ranges.

Soften

Set to 0 by default. Only values between 0 and 10 are allowed.

Blurs the skin selection mask.

At times the skin selection can leave small holes in the area to be processed. This can be corrected with a combination of the Dilate/Erode/Spread sliders.

Closing small holes.

Closing small holes.

Dilate

Set to 0 by default. Only values between 0 and 30 are allowed.

Enlarges skin selection area.

Erode

Set to 0 by default. Only values between 0 and 30 are allowed.

Shrinks skin selection area.

Blur

Set to 0 by default. Only values between 0 and 30 are allowed.

Blurs skin selection mask.

Color Only

Off by default.

Performs the entire process on only the color component of the image. This provides a more subtle effect.

Reduce Shine

Set to 0% by default.

Before. After.

Before. After.
Evens out the highlights in the selected area.

Cover Color

Set to
82% red, 63% green, 53% blue, 100% alpha in the SRGB color space by default.
The color of the “coverup” to be applied.

Hue Closeness

Set to 50% by default.

Low. Medium. High.

Low. Medium. High.
Controls how close the hues in the selected area are brought to the hue of the Cover Color. Should be used in tandem with Sat Closeness to achieve the most natural looking results.

Sat Closeness

Set to 20% by default.

Low. Medium. High.

Low. Medium. High.
Controls how close the saturation in the selected area are brought to the saturation of Cover Color. Should be used in tandem with Hue Closeness to achieve the most natural looking results.

Luma Closeness

Set to 10% by default.

Before. After.

Before. After.
Controls how close the luminance of each pixel in the selected area is brought to the luminance of an average between Cover Color and the pixel being processed. This can be helpful, for instance, if the goal is to reduce dark circles under the eyes.

Limit Mask

Off by default.

Enables an additional mask to manually limit skin selection area.

Note: Limit Mask position may be automatically or manually tracked. When it is automatically tracked, the Limit Offset paramter allows the mask to be offset from the tracking area.

Limit Settings

Control the Limit Mask.

Limit Show

On by default.

Display’s the Limit Mask as a color overlay.

The limit mask’s Origin control point is displayed as a red dot when the mask is manually positioned. The mask center is offset by the purple Limit Offset control when using tracking.

Manual Tracking / Object Tracking

Manual Tracking / Object Tracking

Track

Off by default.

Enables object tracker controls. note: tracking is for placement only, not angle

Origin

A point parameter centered in the frame by default.

Initial location in the frame
How do I adjust the location on-screen?
Center of manual Limit Mask.

Track Limit Mask

Lets you track an object in your video. When object tracking is complete, keyframes that follow the motion of the object over time are automatically created.

The object tracker can be controlled on-screen in Final Cut Pro and Motion:


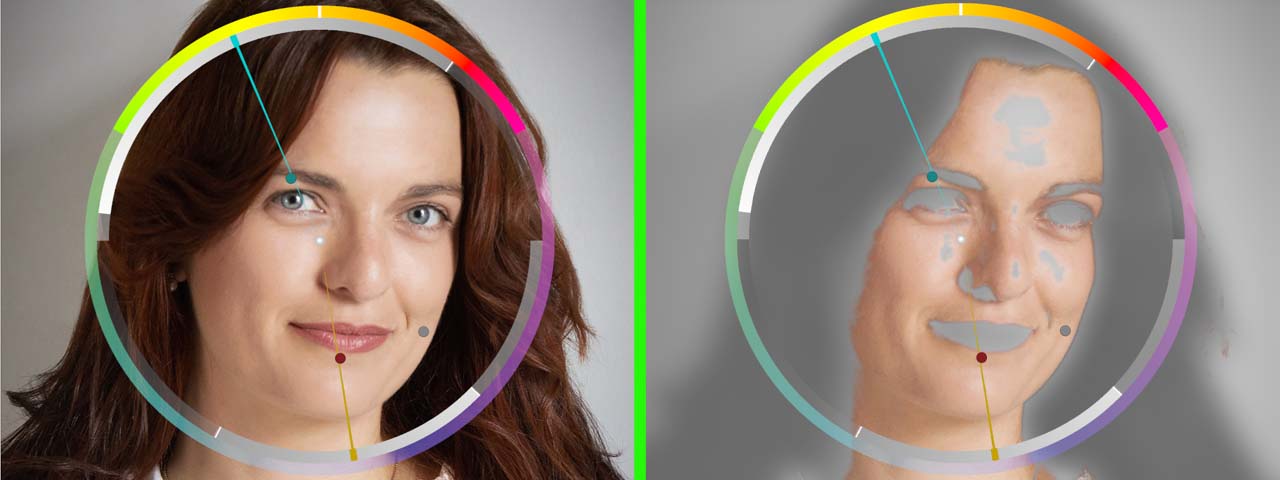
On-screen controls for the object tracker
Identical controls are also available in the parameter inspector:

Controls available in the parameter inspector

For more information on how to display on-screen controls in the Canvas:
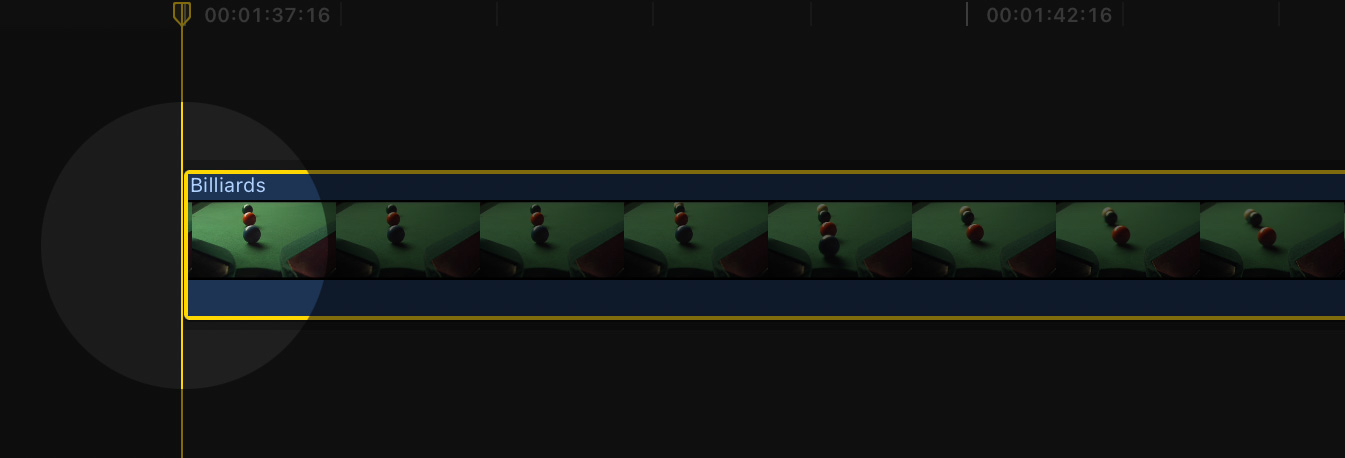
Displaying on-screen controls

Objects can be tracked forward or backward relative to the current playhead location in your timeline. In most cases, you will want to position the playhead at the start of the clip:


Playhead position at the start of the clip

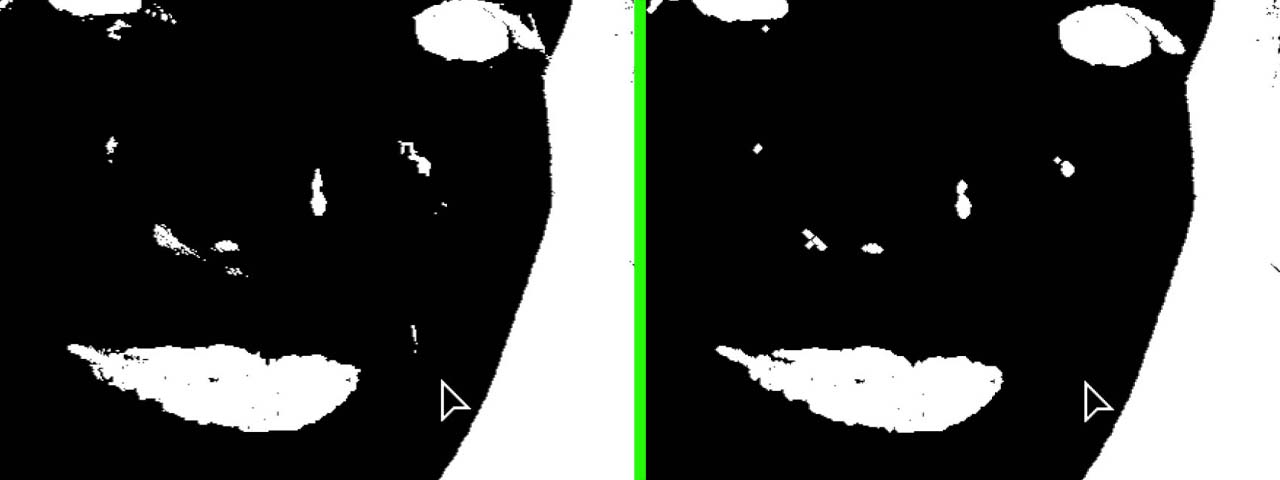
Make sure the Track Limit Mask option is enabled to prepare for tracking:


Enable the object tracker

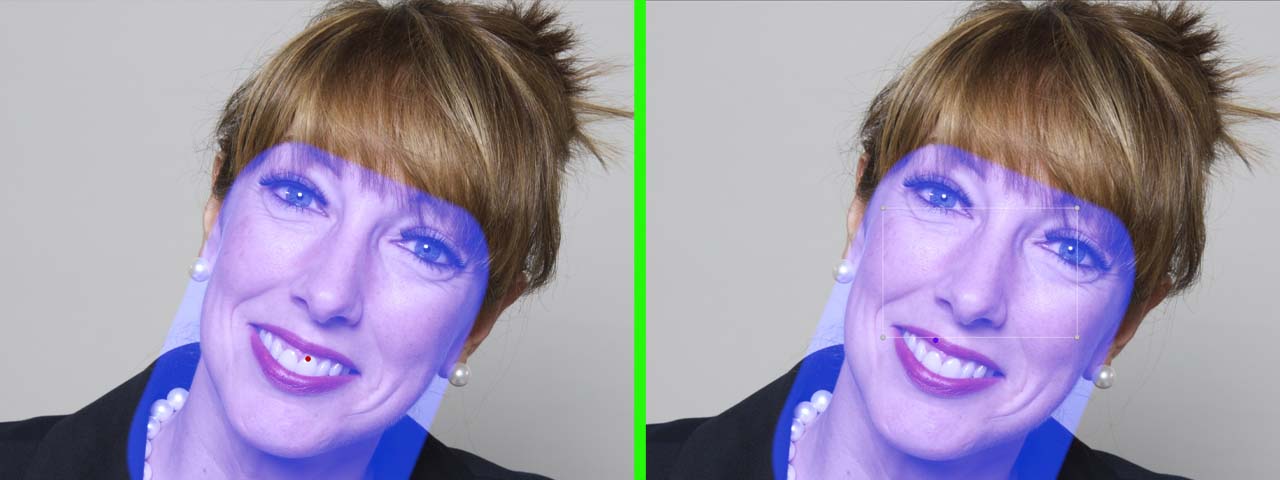
Position and resize the region around the object to be tracked:


Position and resize the rectangular region around the object you wish to track

Click the Track Forward button to begin analysis:


The Track Forward button

A window reports progress made so far:


Object tracking status

Click the Cancel button if you notice that the analysis seems to be following an object incorrectly. Reposition and resize the region before attempting to track the same object again.

When the analysis is complete, keyframes are created to follow the object along its path.

The analysis proceeds in the background even if you click on a different window. You can check on the progress of your analysis by selecting the Track Limit Mask command under the Window menu. If the command is missing from the menu, analysis is already complete.

How can I make my own adjustments to the results?

When object tracking analysis is complete, the rectangular selection around each tracked object follows the object along its detected path.

Make sure the on-screen controls are currently visible in the Canvas in order to see and manipulate the region around each tracked object. Note that each video application has different rules for when on-screen controls are visible in the Canvas.

As you step forward or backward by a single frame, you may drag the region to the desired location. If the motion path seems to wander off by a significant amount, you can click the Track Forward or Track Backward buttons to restart the analysis after applying the desired corrections.

You may also step through all frames where the analysis did a poor job of tracking the object, and manually reposition the region to match the actual location of the object. This gives you the flexibility to use automatic object tracking to estimate a motion path, while making fine-grained adjustments for the perfect results.

Better tracking of shaky video

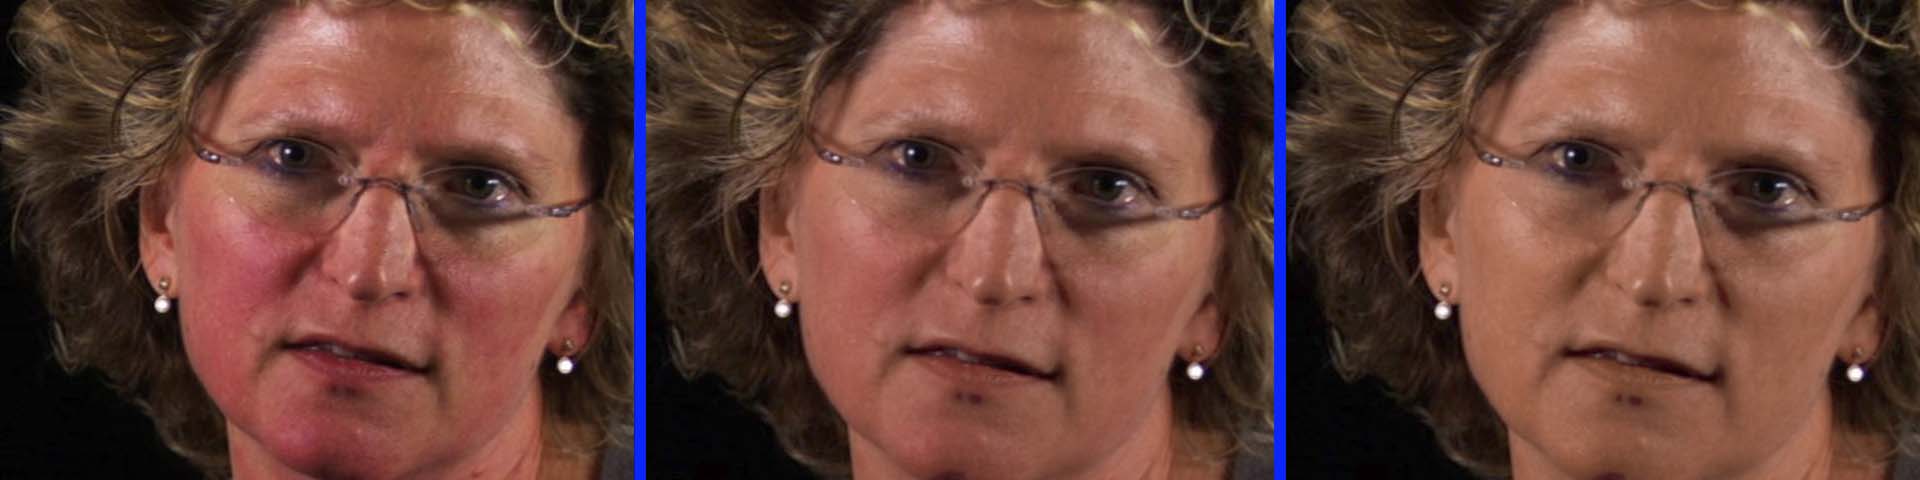
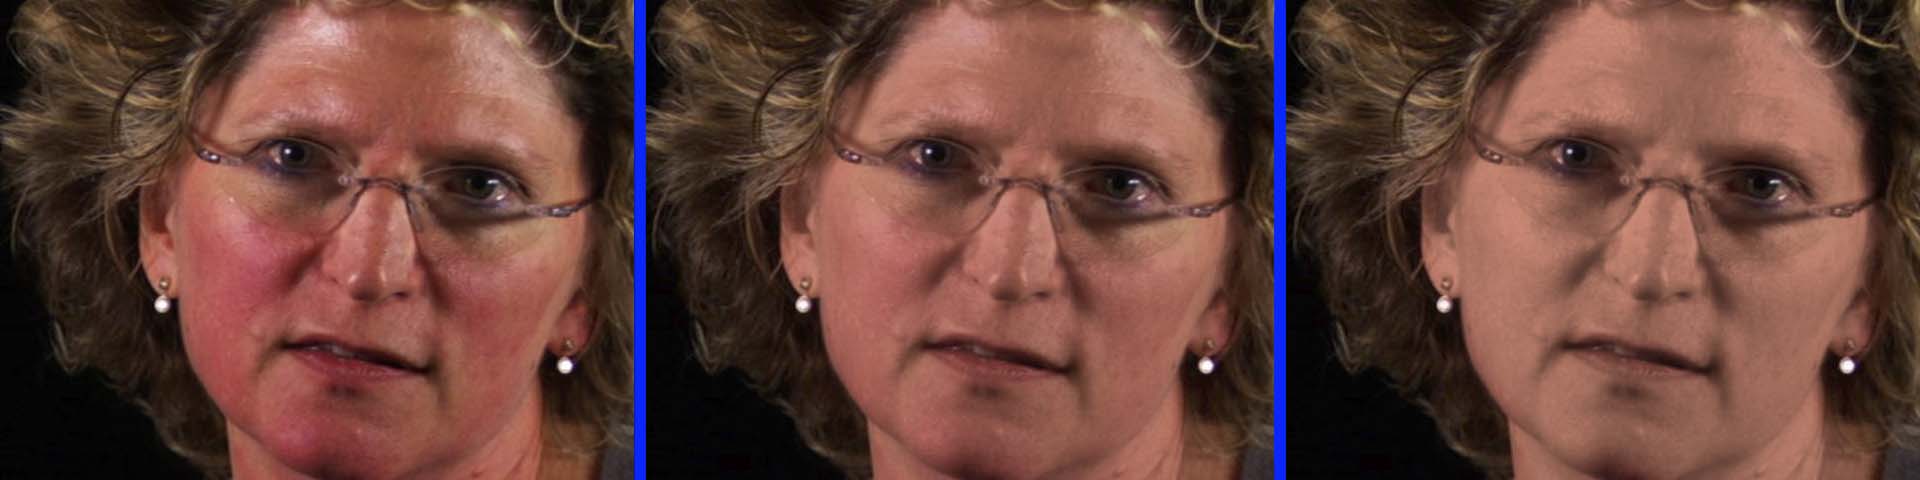
Results of the object tracker depend heavily on the video being analyzed. When tracking objects in shaky video, increase the Smoothing level to prevent the resulting motion path from shaking along with the object. The current smoothing level is set through the options menu:


Increase Smoothing with shaky video

Remember to track the object again after changing the Smoothing level.

Better performance in Final Cut Pro

To speed up object tracking analysis in Final Cut Pro, transcode all clips to create Optimized Media.

How do I create optimized media in Final Cut Pro?

Use this tracker to control the placement of the Limit Mask

Limit Offset

A point parameter centered in the frame by default.

Initial location in the frame
How do I adjust the location on-screen?
This allows the user to displace the tracking area from the mask placement.

Radius

Set to 75% by default.

Controls the roundness of the Limit Mask.

Softness

Set to 20% by default.

Softens the edge of the Limit Mask.

Size

Set to 0.9 by default. Only values between 0.1 and 2 are allowed.

Controls the size of the Limit Mask.

Aspect

Set to 1.25 by default. Only values between 0.1 and 5 are allowed.

Controls the height to width ratio of the Limit Mask.

Angle

Set to by default.

Value must be between -180° and 180°.

Controls rotation of the Limit Mask.